Step 1: connect to server
Fill the address field with the server’s name preceded by two backslash: \\<server name>
(usually, backslash is obtained pressing ‘Alt’ + ‘<‘)
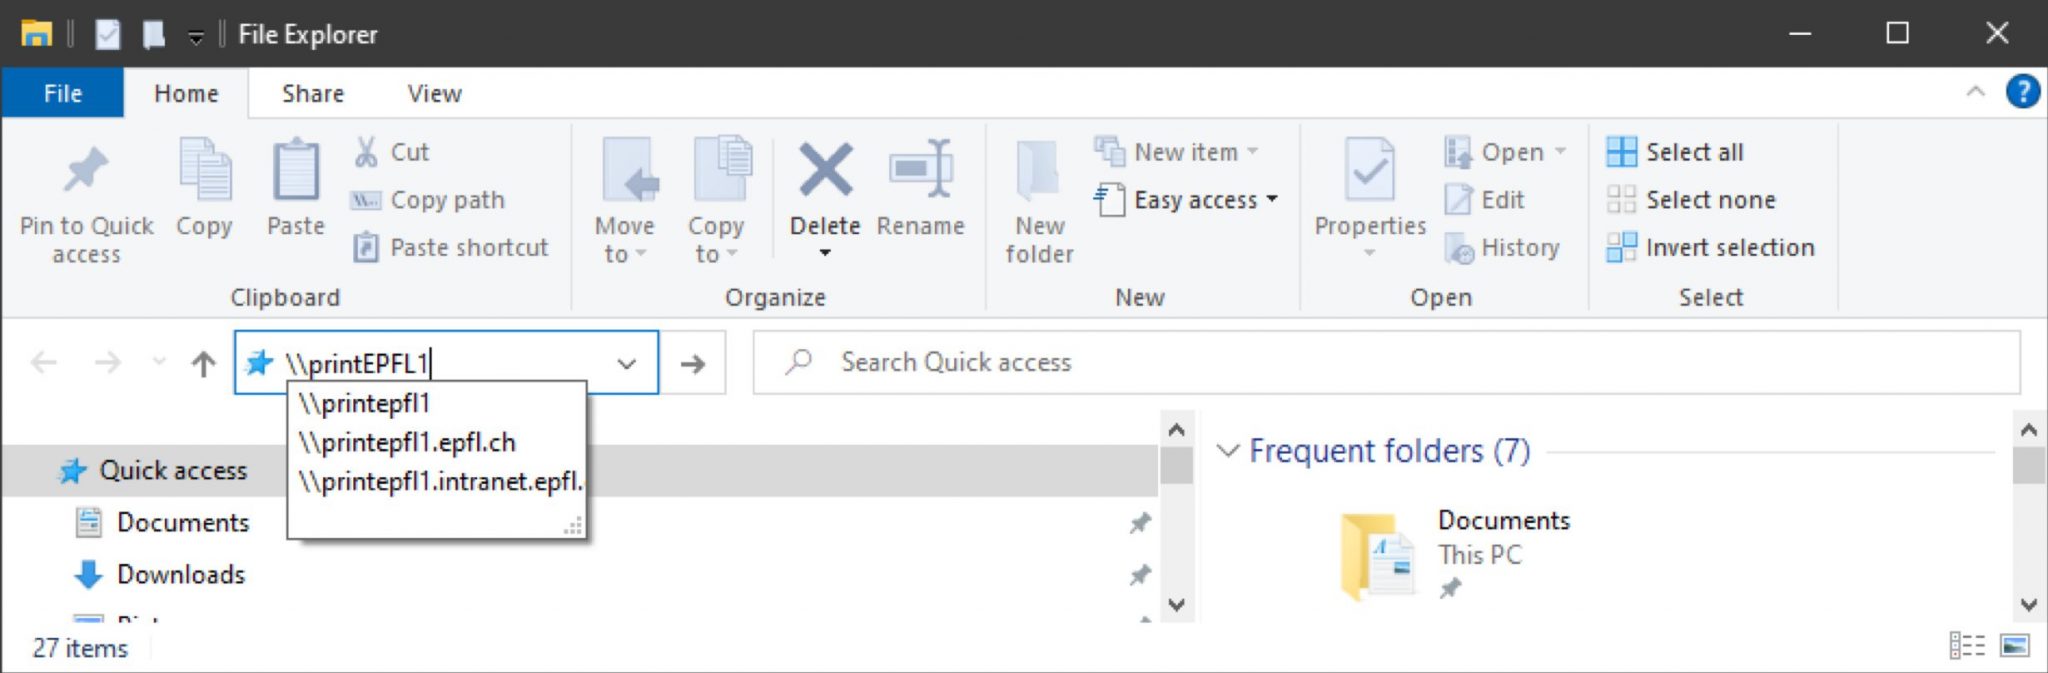
Server names:
- printEPFL1 : access to the students deserved pool
- printEPFL2 : access to the co-workers deserved pool
- printEPFL4 : access to the students deserved pool
- printEPFL5 : access to the co-workers deserved pool
Those 4 servers are available for better load balancing, but they are all identical. You can use them interchangeably.
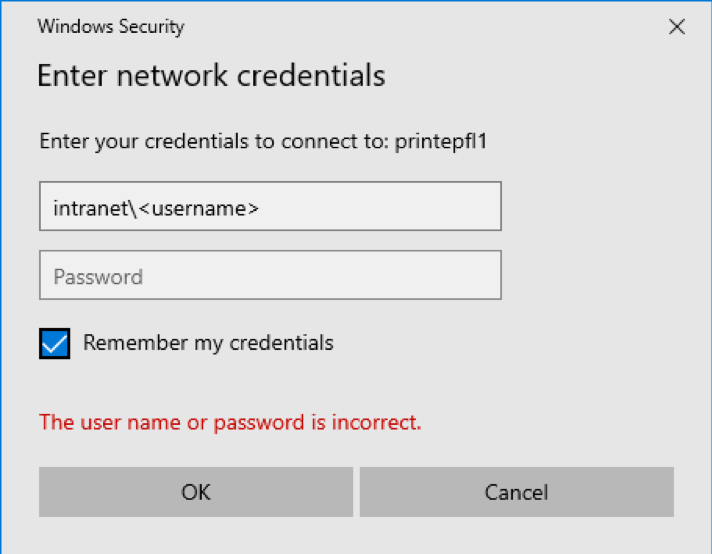
Once the network address is entered, you will be asked for authentication.
Step 2: enter your credentials
Therefore use your Active Directory account: intranet\your_username and your Gaspar password
The list of available printers and pools will be displayed but no printer should be installed; it is simply a matter of making the connection with the server and being authenticated on it
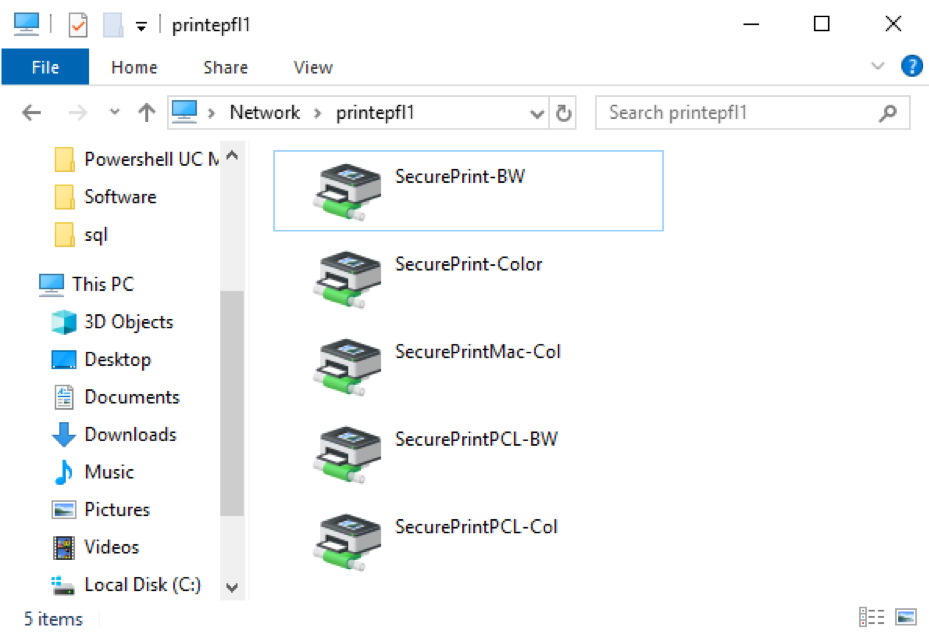
Step 3: download the driver
For a PCL queue
- SecurePrintPCL-Col : to print in Color, in PCL format (smaller file size); ideal for « Office » documents (Word, Excel, PowerPoint, etc.)
- SecurePrintPCL-BW : to print in Black and White, in PCL format (smaller file size); ideal for « Office » documents (Word, Excel, PowerPoint, etc.)
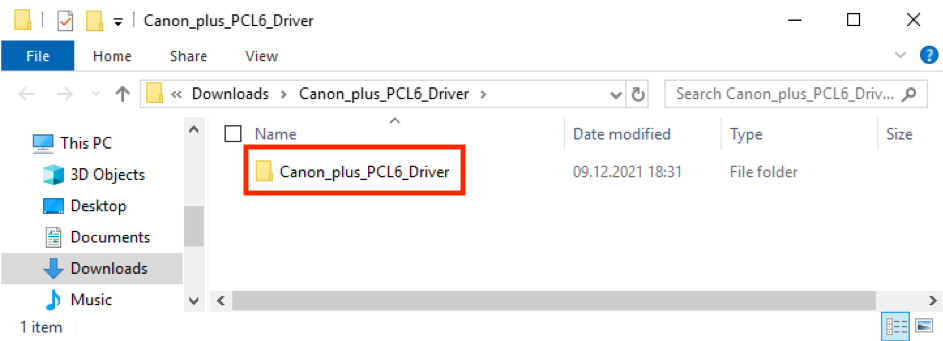
Download the ZIP file containing the PCL driver
>>> Canon Plus PCL6 Driver <<<<<
Extract information from Zip file by double clicking on it
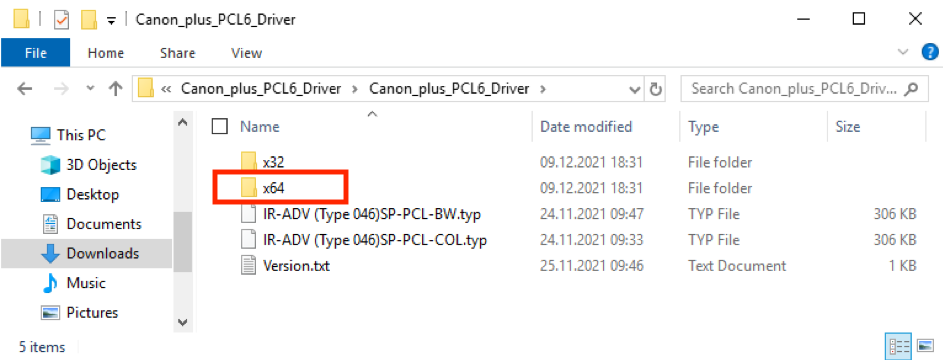
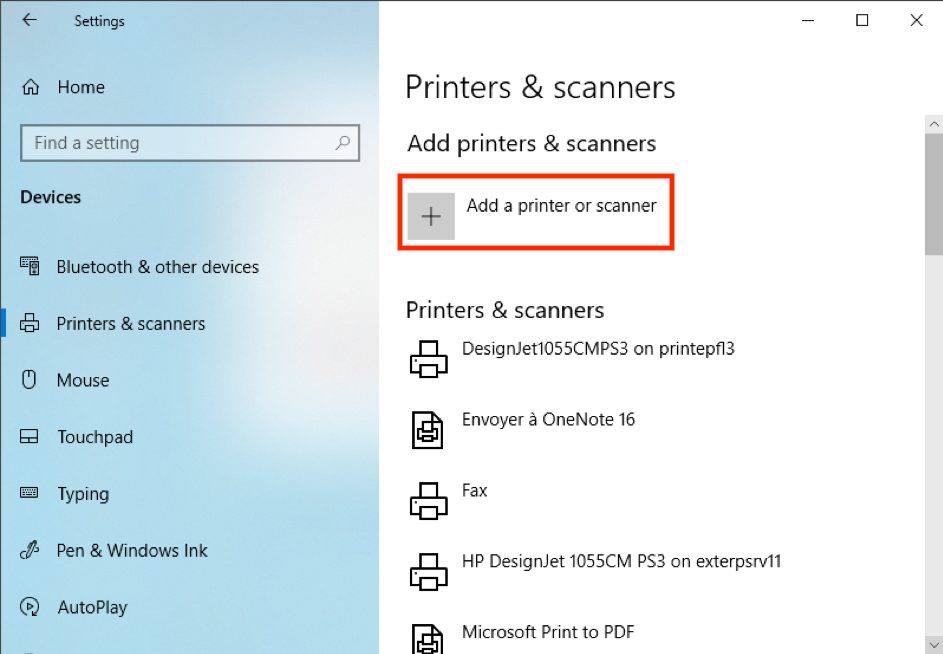
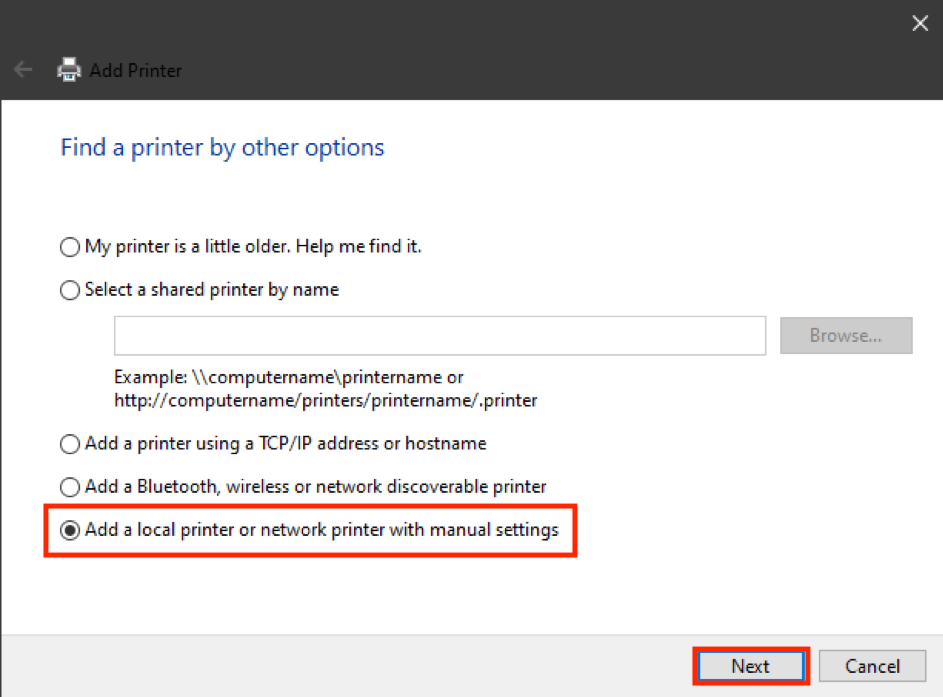
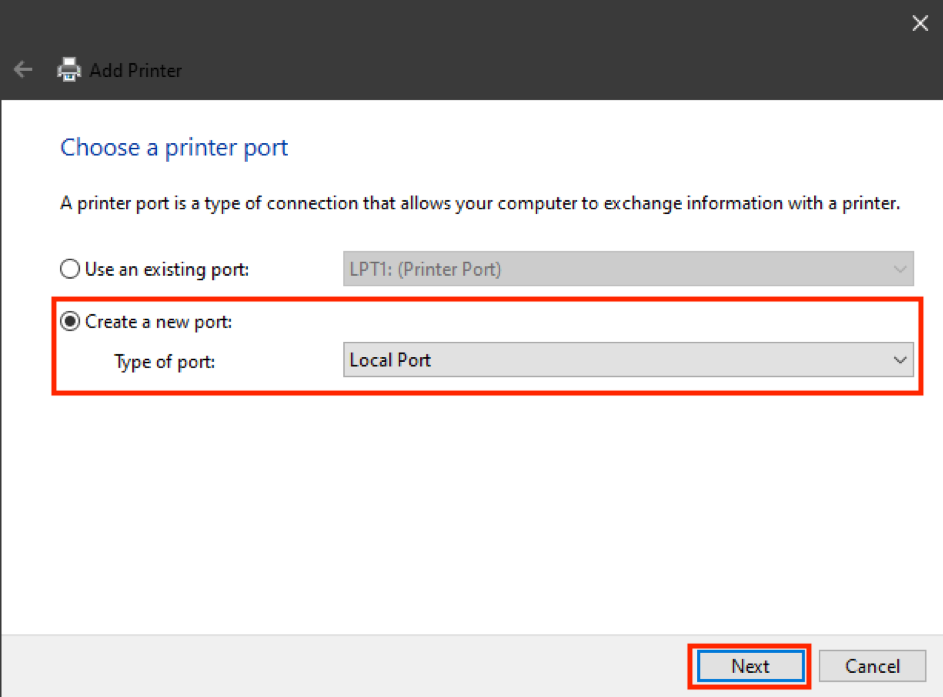
Step 4: Install a printer manually

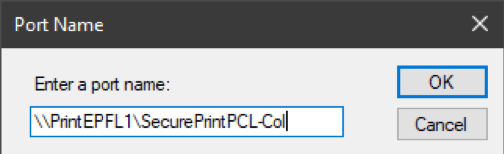
For a « color » queue, enter one of these ports
- \\PrintEPFL1\SecurePrintPCL-Col
- \\PrintEPFL2\SecurePrintPCL-Col
- \\PrintEPFL4\SecurePrintPCL-Col
- \\PrintEPFL4\SecurePrintPCL-Col
For a « Black and White » queue, enter one of these ports
- \\PrintEPFL1\SecurePrintPCL-BW
- \\PrintEPFL2\SecurePrintPCL-BW
- \\PrintEPFL4\SecurePrintPCL-BW
- \\PrintEPFL4\SecurePrintPCL-BW
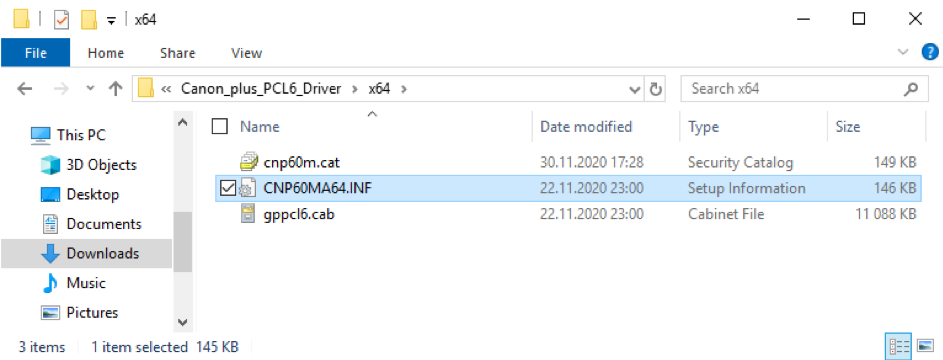
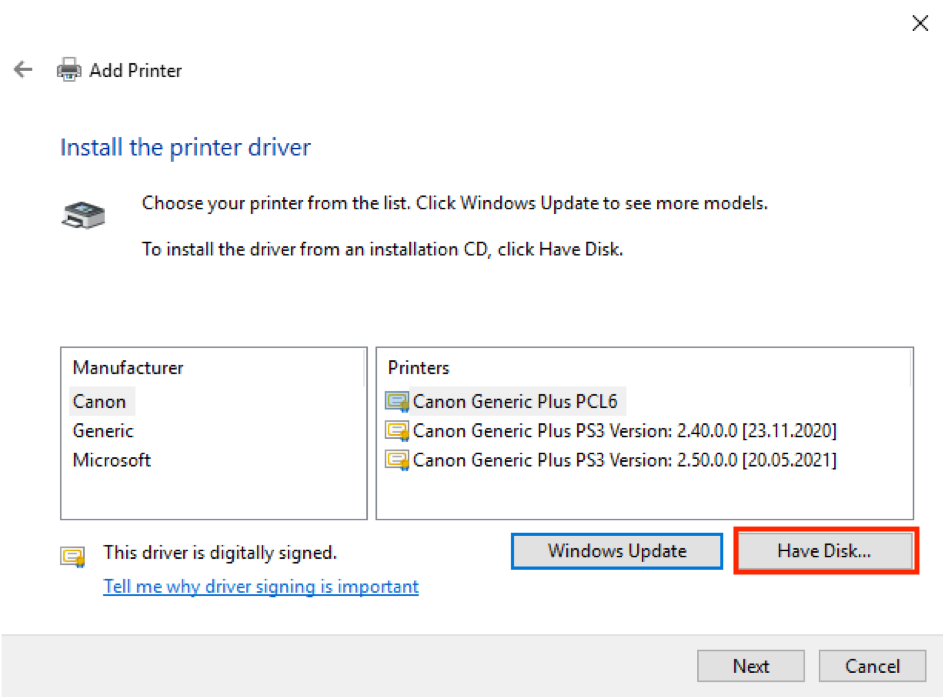
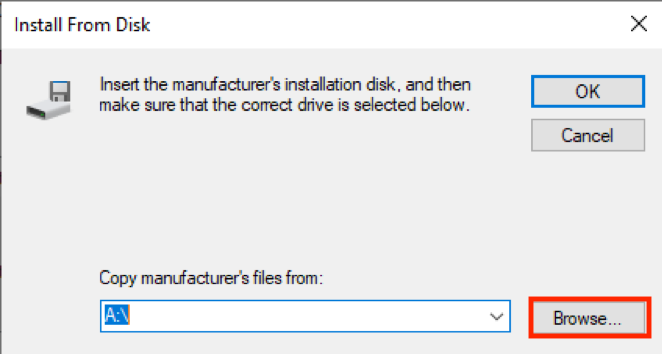
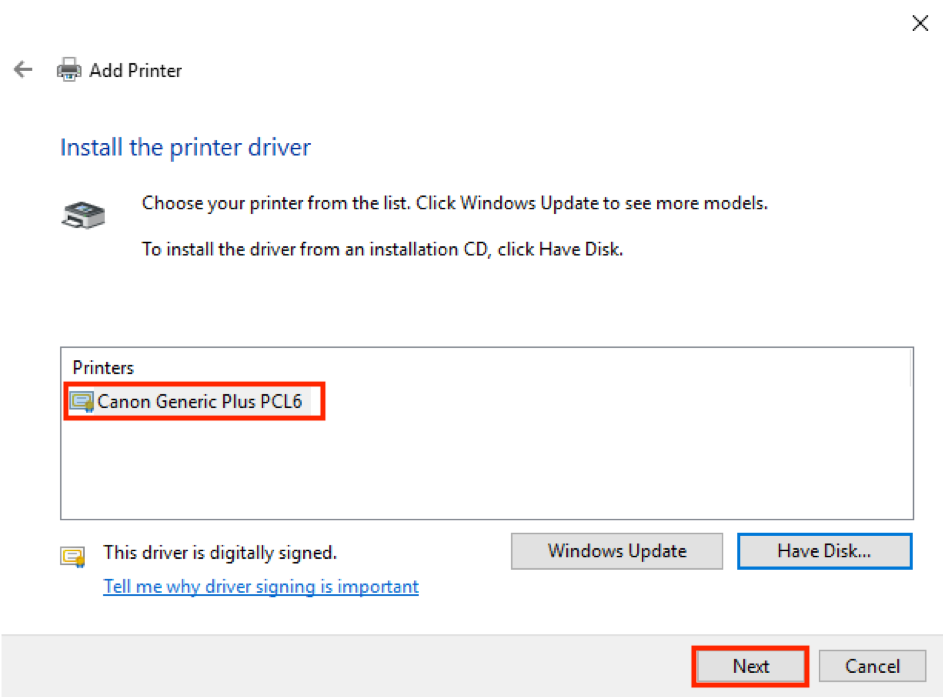
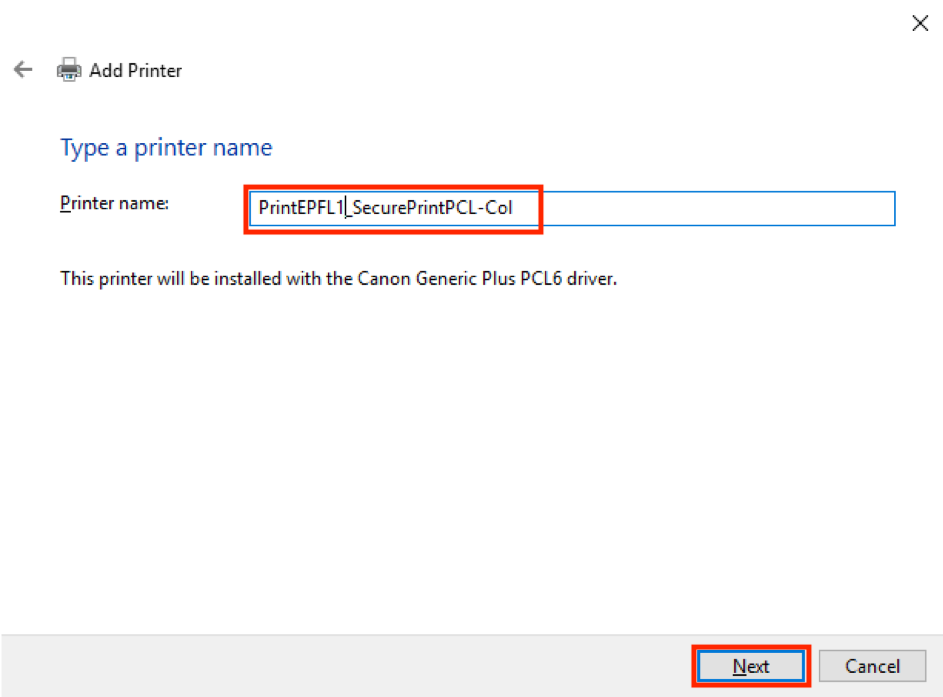
Then install the driver
Name the printer so as to recognize its server and its type (PCL or PS), and whether it is color or black and white; for example: PrintEPFL1_SecurePrintPCL-Col
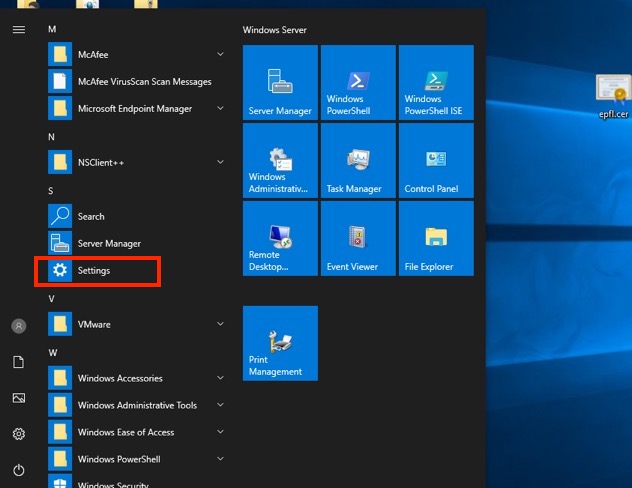
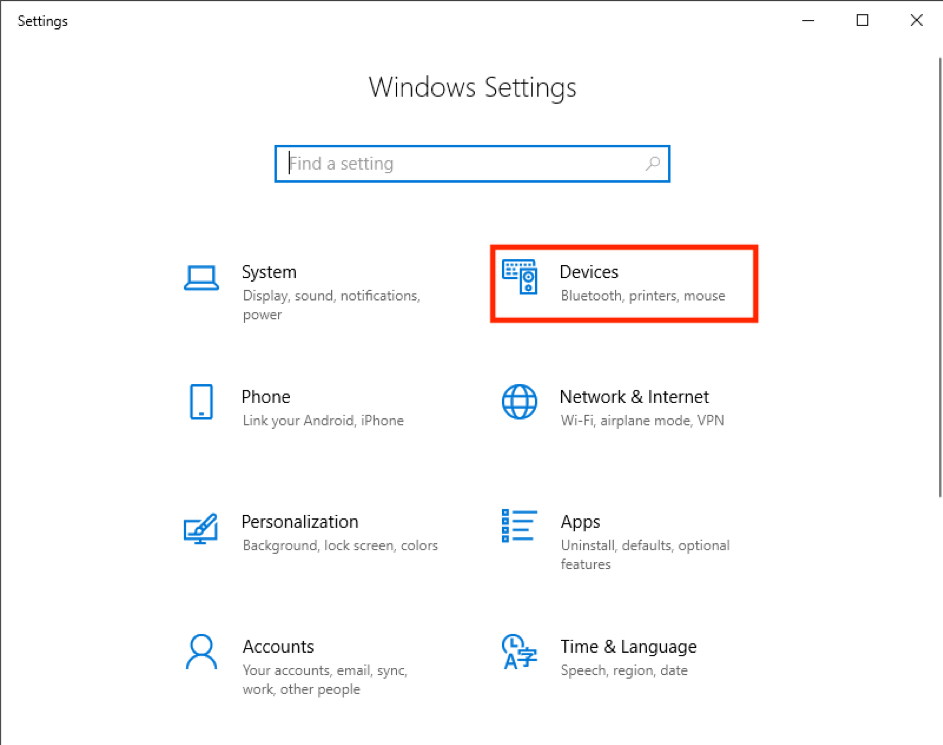
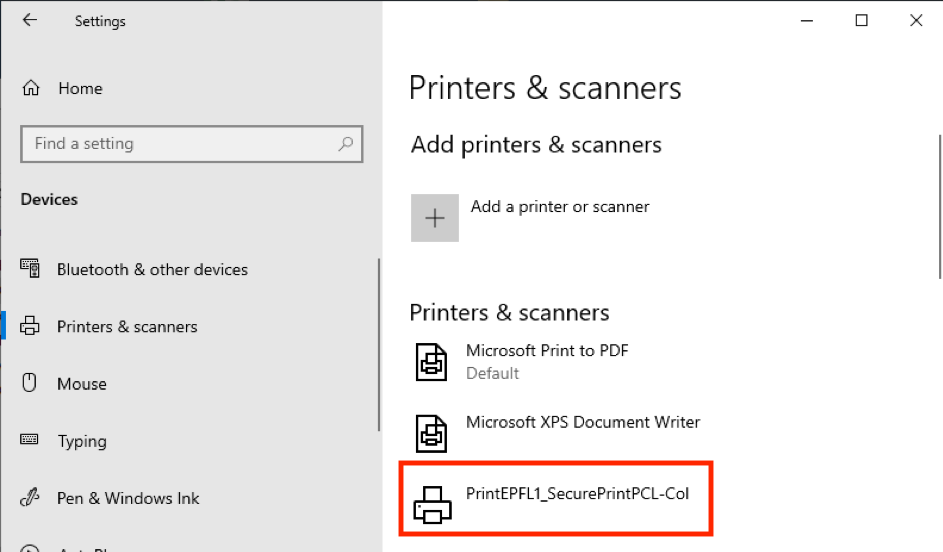
Go back to the peripherals page, Printers and scanners
Select your printer
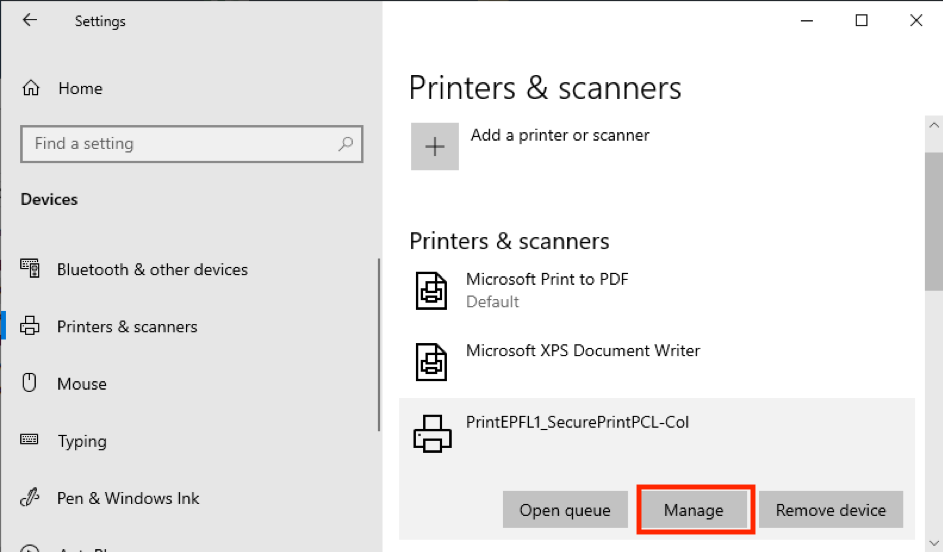
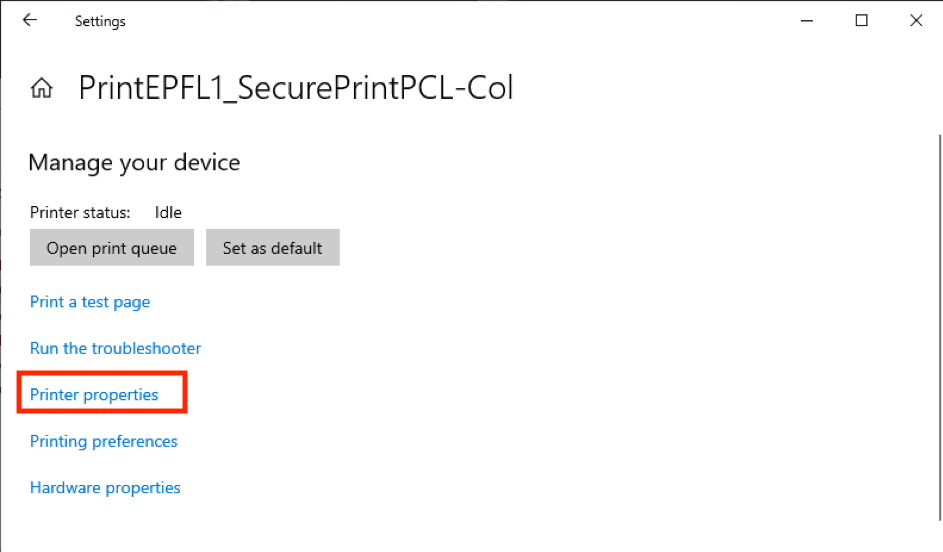
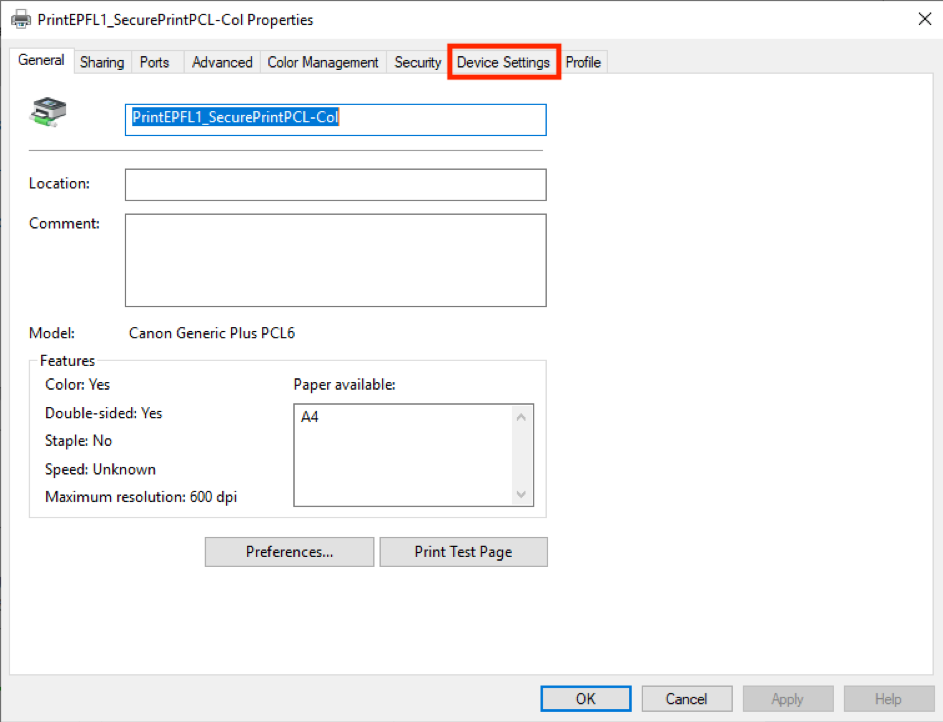
Click on the « Change » tab
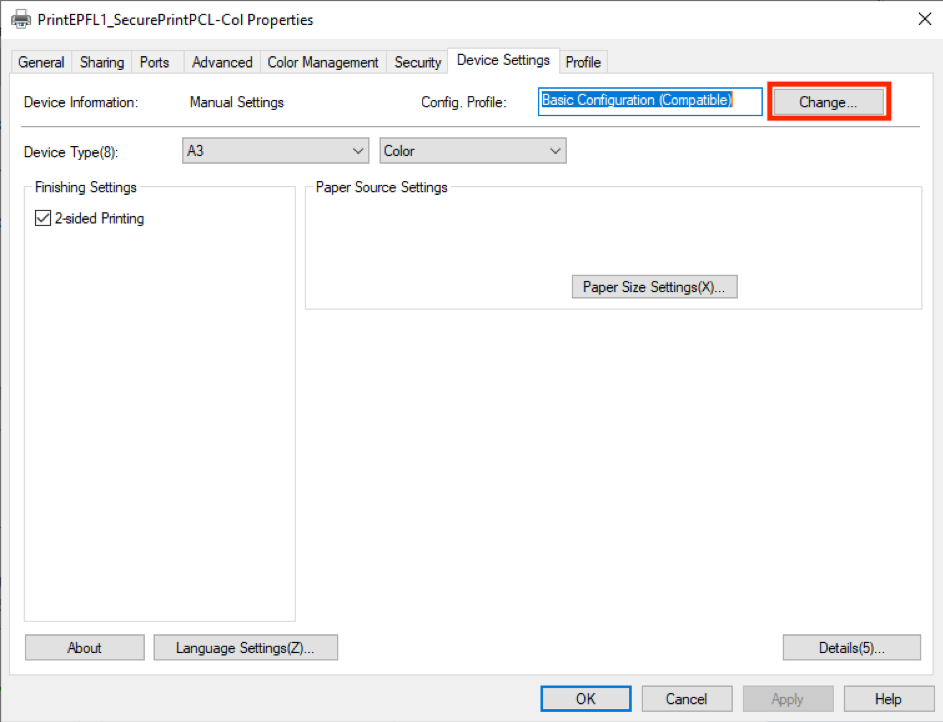
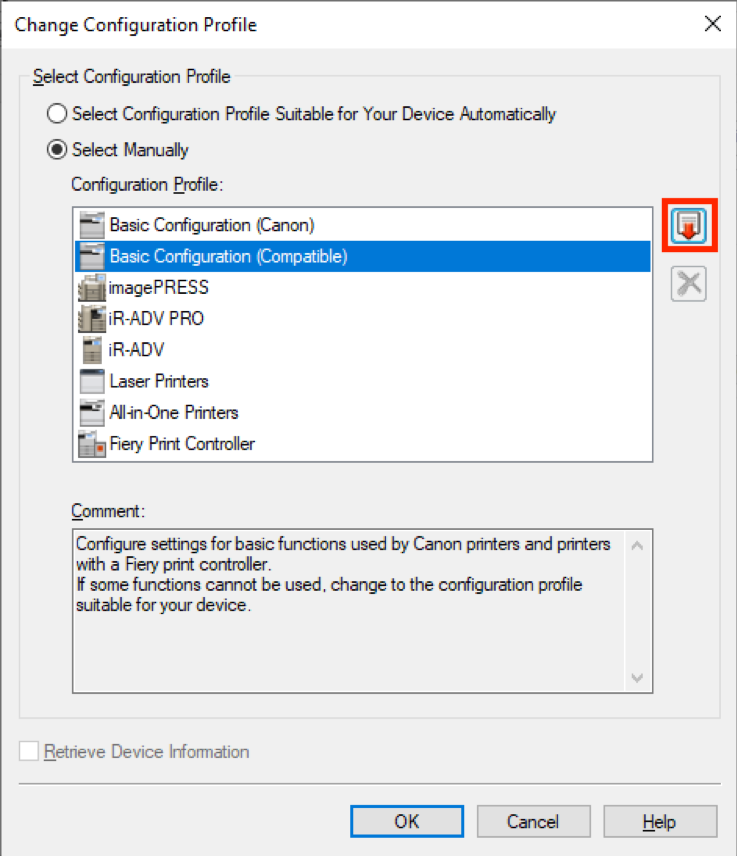
Click on « Select manually » and then on the red arrow visible on the right
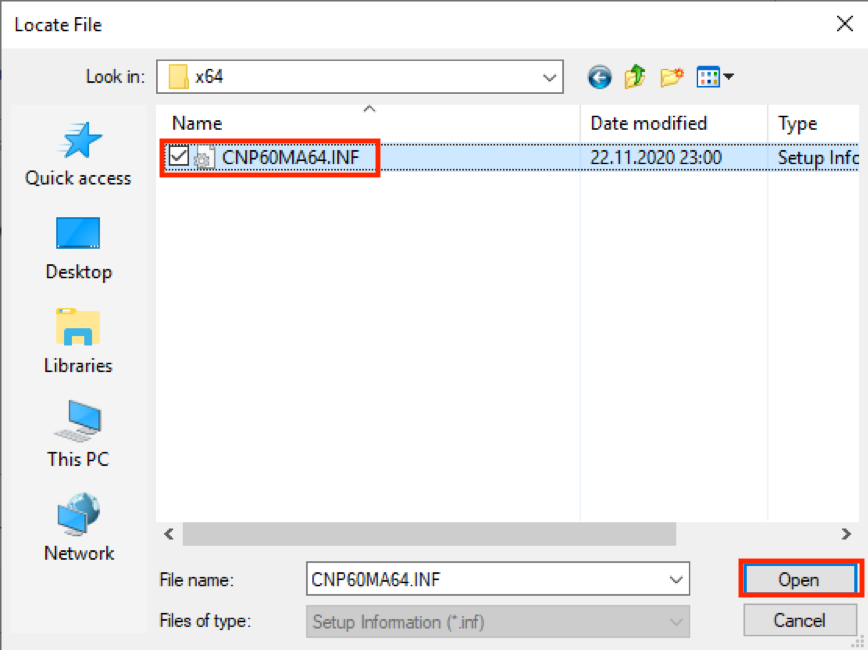
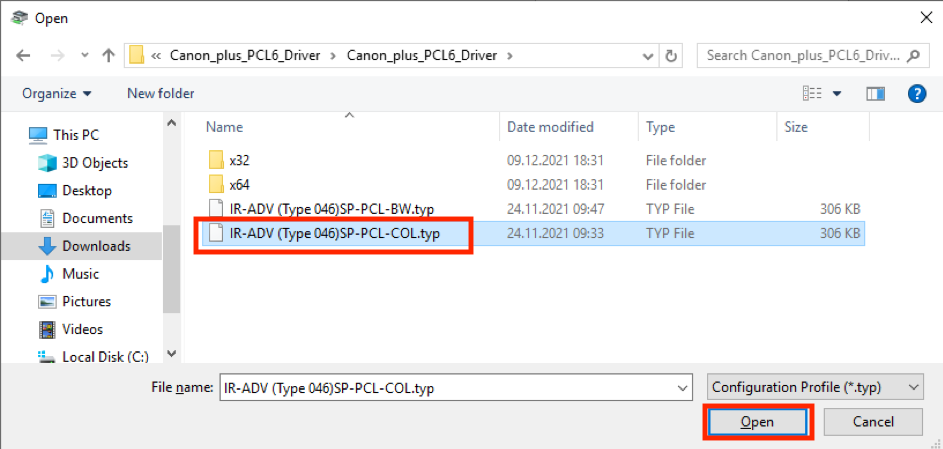 Take the configuration file that is suitable for the printer that is in the zip of the file that we have previously downloaded
Ex : IR-ADV (Type 046)SP-PCL-COL.typ
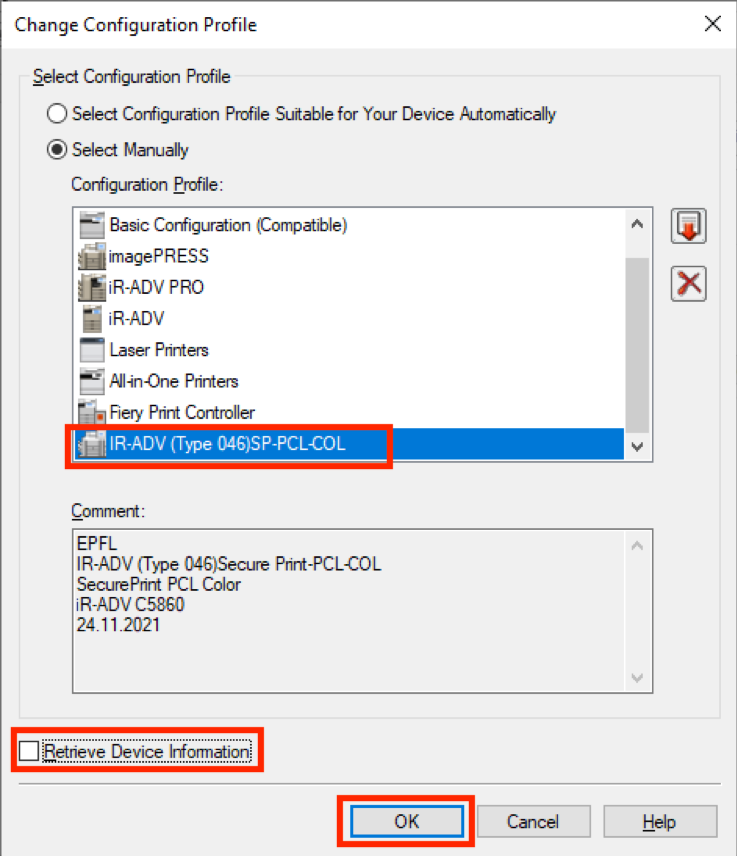 Uncheck « Retrieve device information »
Then click « OK »
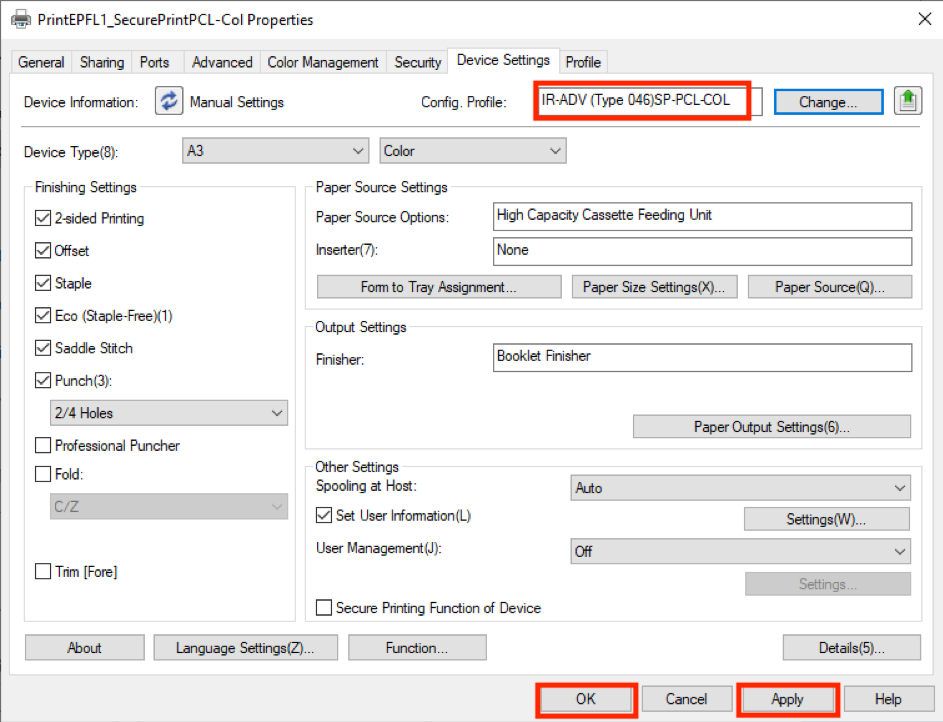 Click on “Apply”, then on “OK”
For a PS queue
- SecurePrint-Color : to print in Color; larger size but ideal for PDF documents, for example
- SecurePrint-BW : to print in Black and White; larger size but ideal for PDF documents, for example
Download the ZIP file containing the PS driver,
>>>> Canon Plus PS Driver <<<<<<<
then proceed in the same way, choosing a PS file