Introduction to the LMTS
We develop reliable soft stretchable compliant actuators, sensors and transducers. Our research cuts across different miniaturized actuator technologies, with a primary focus on elastomer-based solutions and multi-functional stretchable materials. We are part of the EPFL Institute of Mechanical Engineering.
Our core research areas are:
- Miniaturized polymer actuators and soft transducers for a broad range of applications including soft robotics, dextrous manipulation, microfluidics and tunable optics.
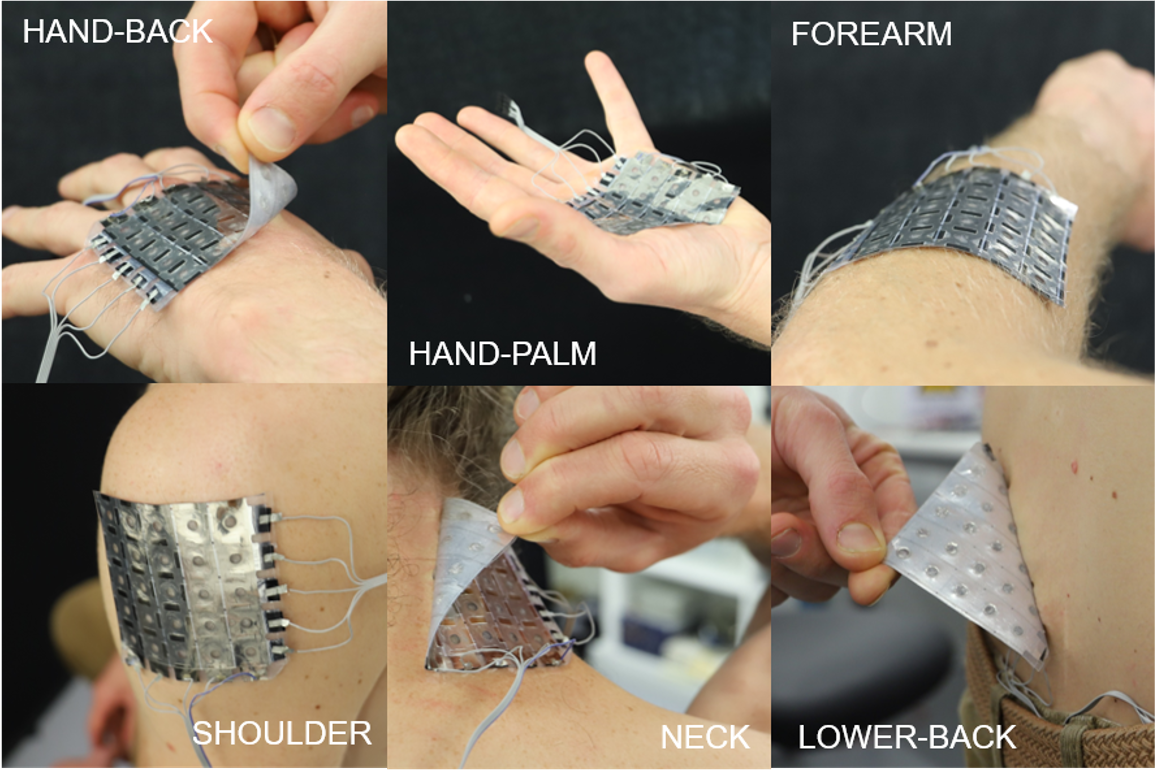
- Wearable Haptic displays for VR/AR applications and for visually impaired users, allowing dynamic graphical information such as maps or virtual 3D shapes to be explored using one’s sense of touch.
- MEMS and Printed Microsystems. (Dr. D. Briand, MER) Environmentally-conscious MEMS processes and applications, digital & additive manufacturing of smart systems, sustainable electronic & sensor technologies, 3D structural electronics, transient ecoresorbable & bioresorbable microsystems.
News
We will be hosting the 2026 EuroEAP conference, June 2-4 2026 in Neuchatel!
| Electroadhesion Suction Cups! collaboration with Prof Cacucciolo at Uni Bari. Well done Fabio! | 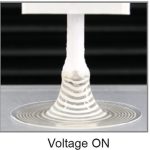 |
| Untethered flat swimming robot with undulating fins driven by electrohydraulic actuators in Science Robotics (2025), led by Florian |  |
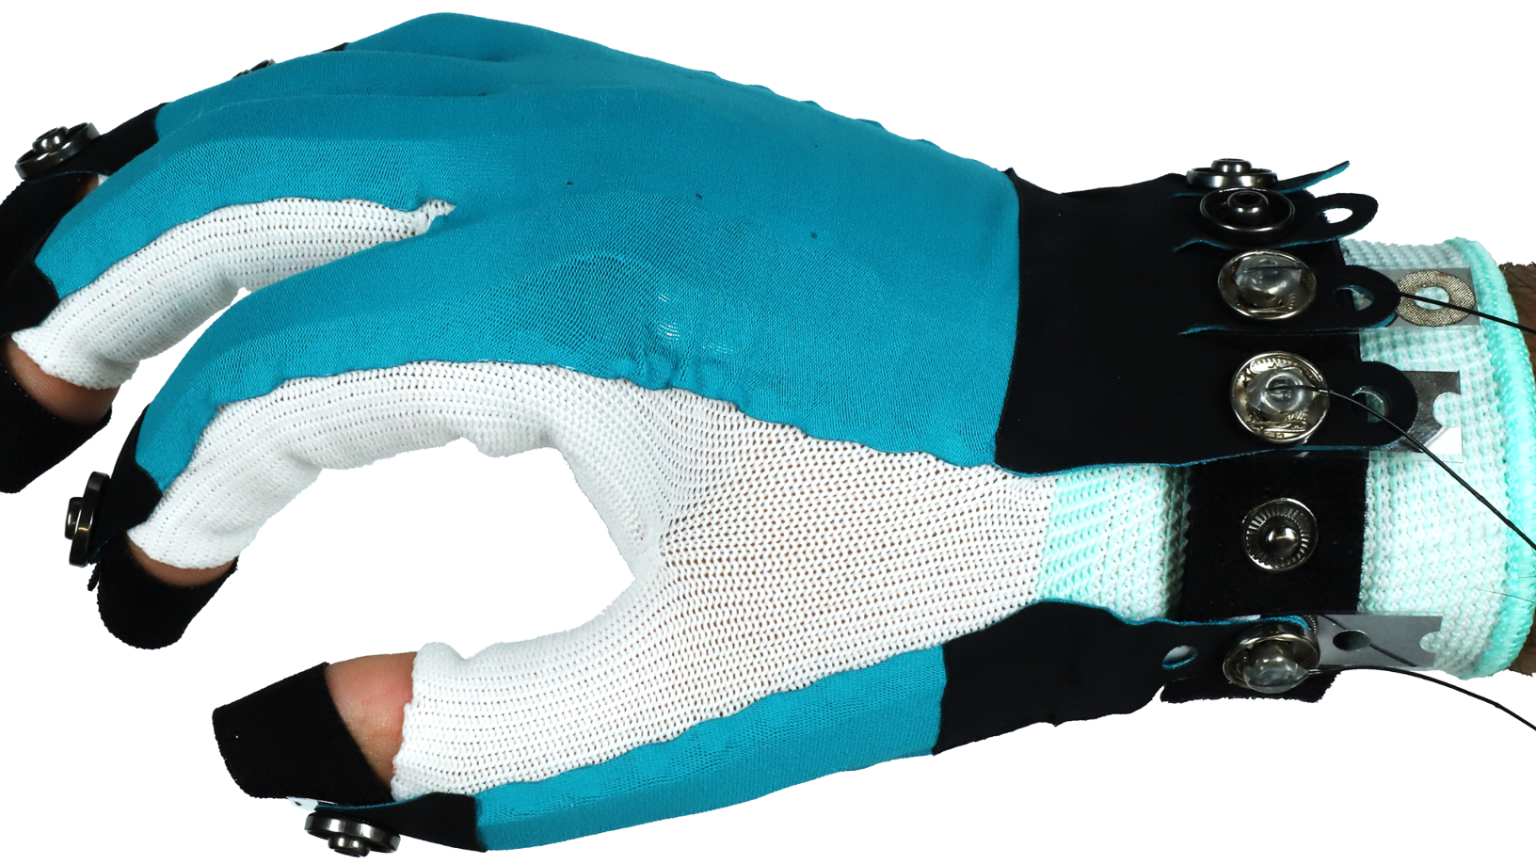
| Combining SMA and Electrostatic Clutches for energy efficient yet powerful wearable actuators in Adv. Func. Mat. (2024). great job Huapeng! |  |
| Robert’s unique data showing dynamics of droplets moving under EWOD at high voltages published in Droplet |  |
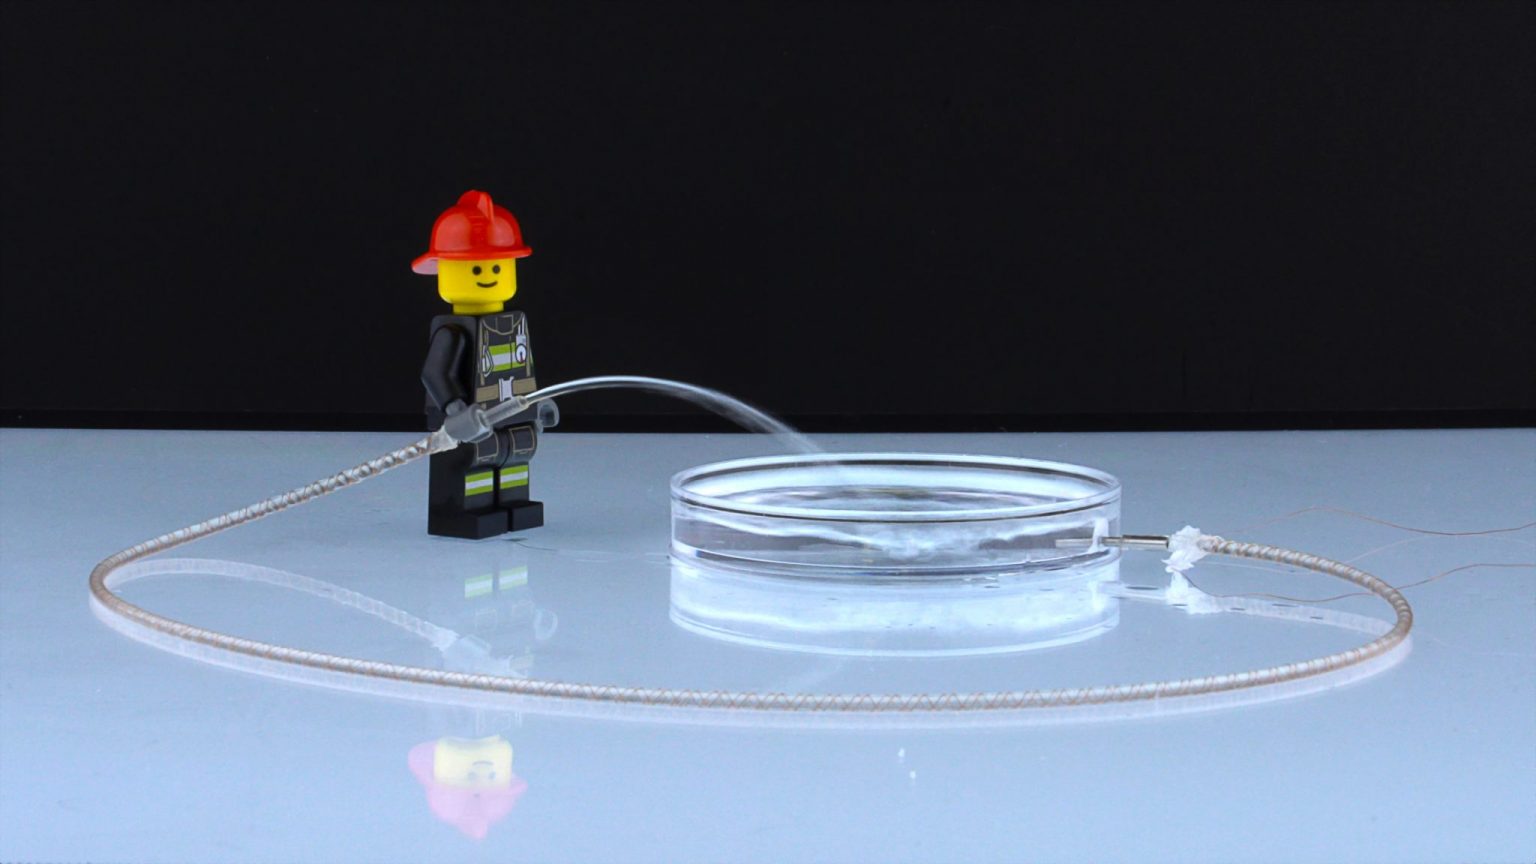
| Our Fiber Pump was published in Science (2023). Congrats to Mike! | 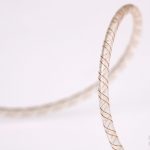 |
| Congrats to Giulio for his printed HAXELs that was published 2-2023 in Advanced Functional Materials | 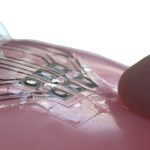 |
| With Prof Anne Skov (DTU) Prof Shea was awarded in 6-2022 a 7 M€ funding from the Novo Nordisk Fonden to develop wearable exoskeletons. |  |
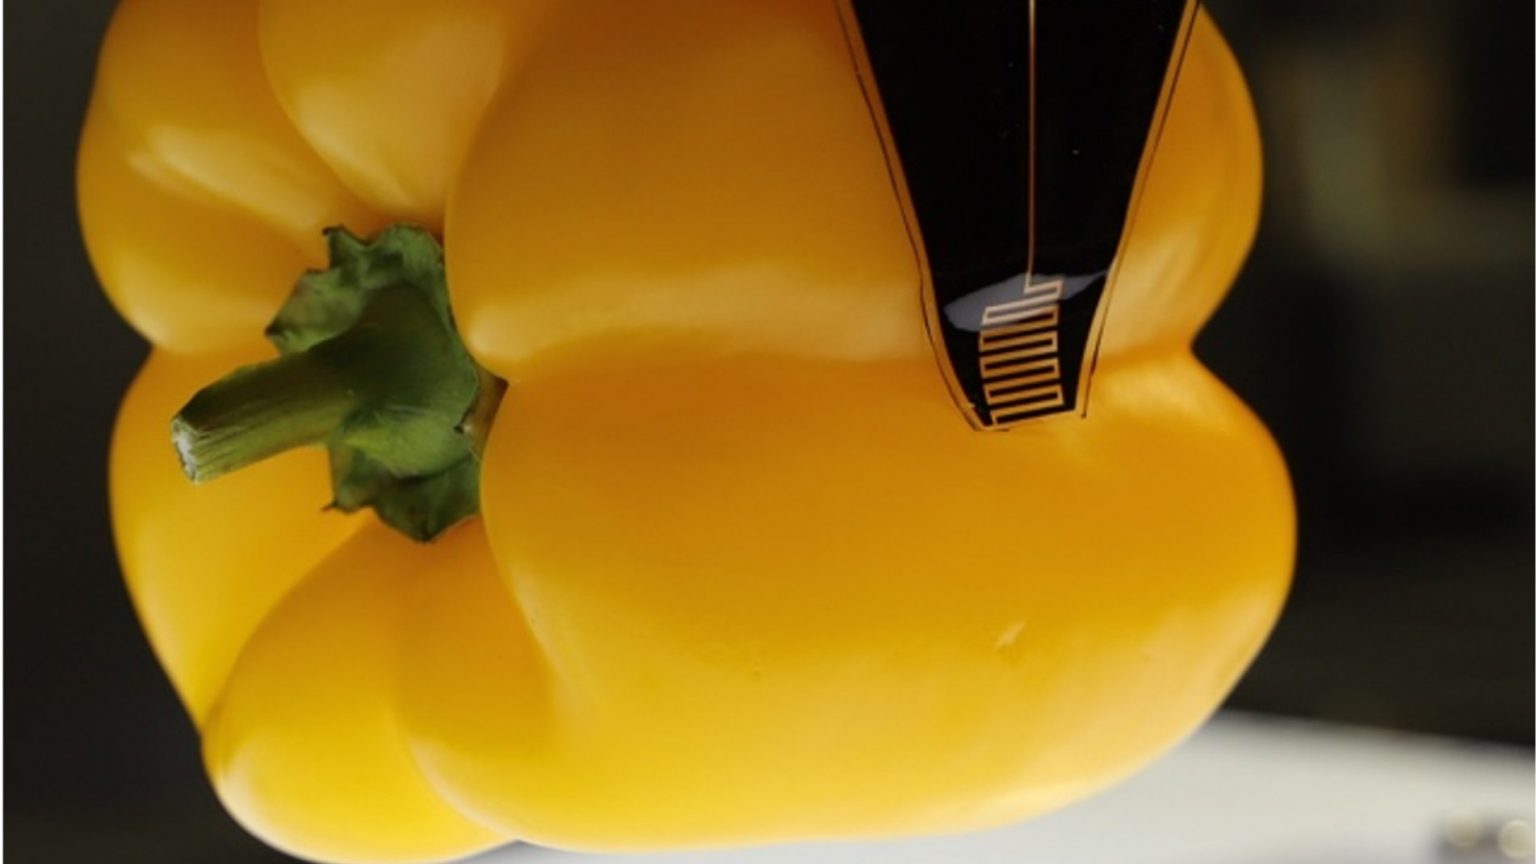
| Bekir’s work on stretchable force sensors published in 8-2022 in Nature Communications! | 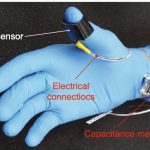 |
Contact info:
